Soft and Cheesy Garlic Rolls

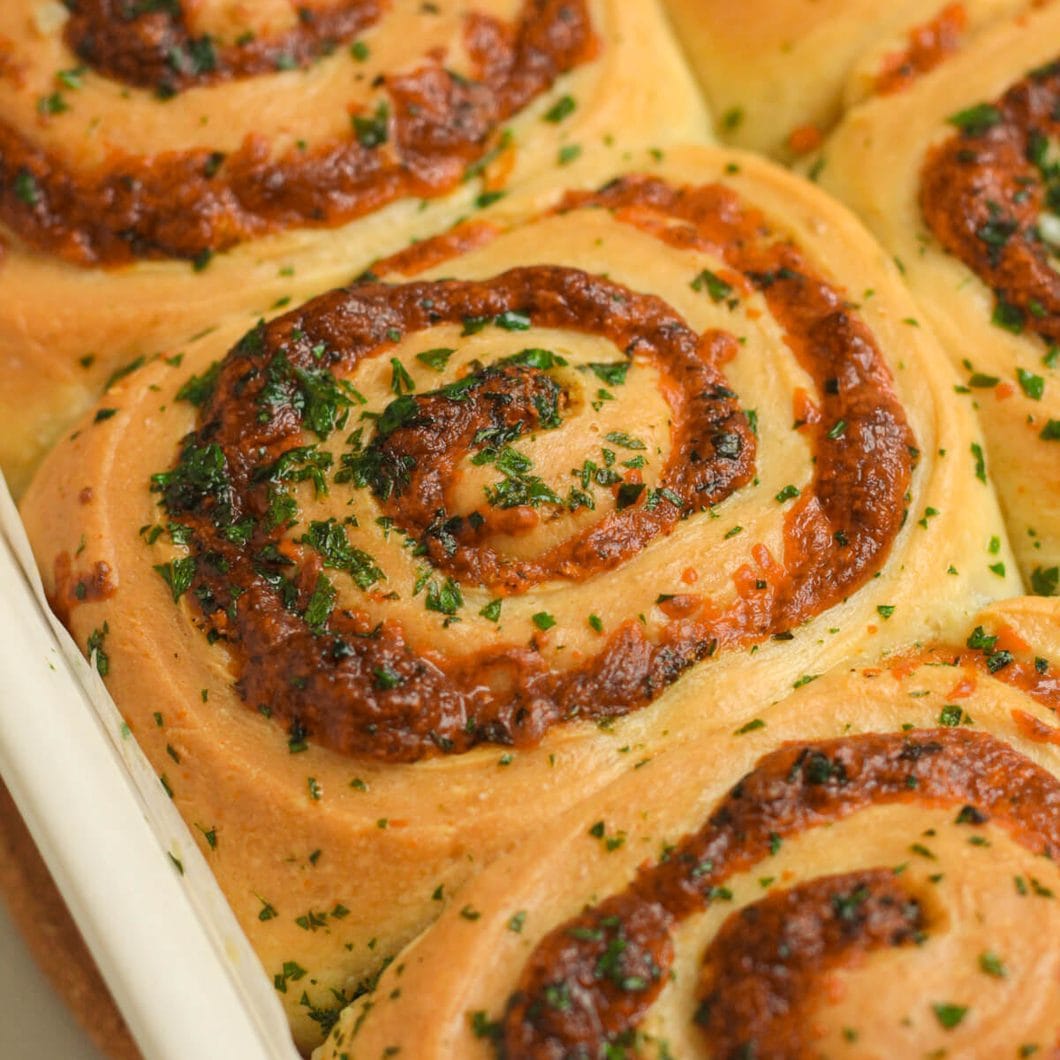
Soft and Cheesy Garlic Rolls are fluffy yeasted rolls filled with garlic butter, mozzarella and parmesan, baked until golden and brushed with more garlic butter straight out of the oven. Made from scratch but easier than you’d think and absolutely impossible to stop eating.
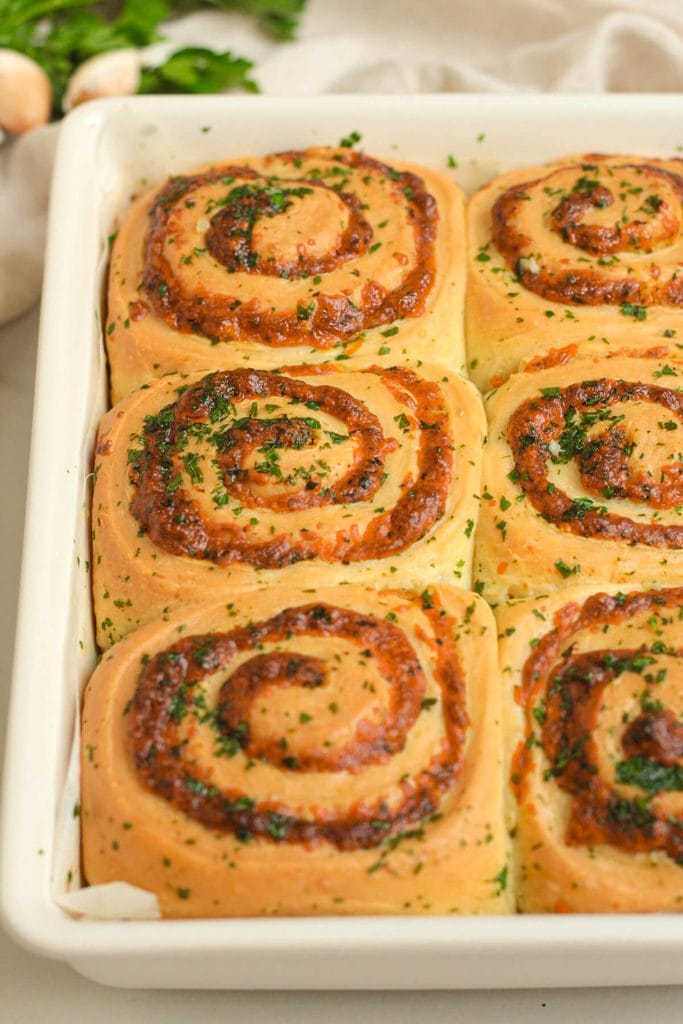
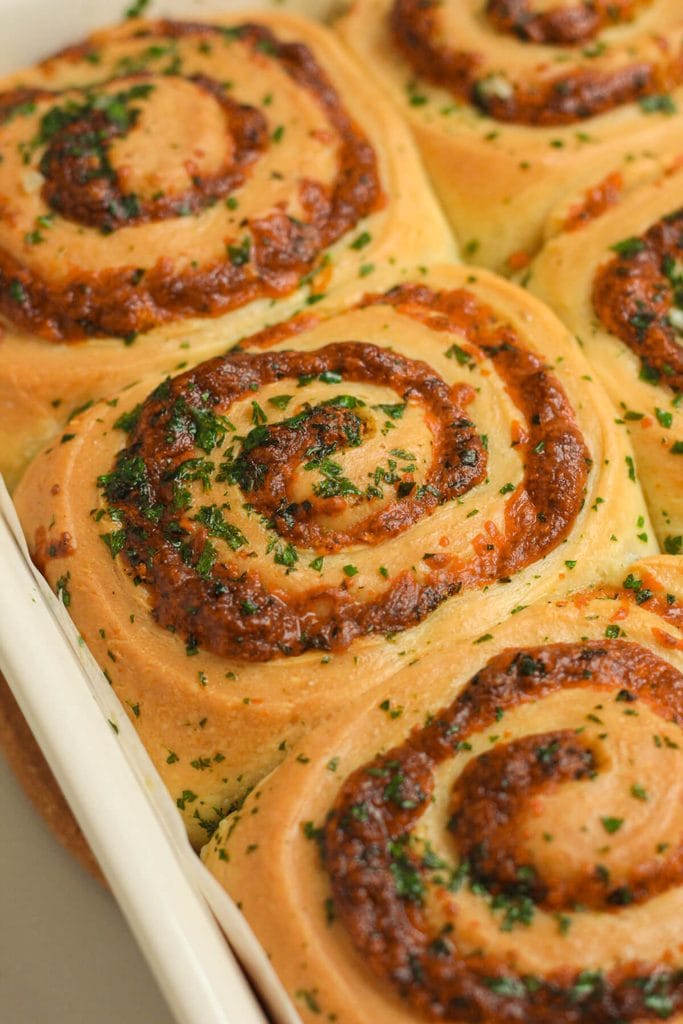
My girls call them snails. And honestly? That’s the best thing anyone has ever called my cooking.
We make these almost every Sunday. My older one loves them so much that she specifically asks if there’s one left for her lunchbox the next day. My younger one just eats three in a row without saying a word because she’s too busy. I’ll take it.
I started making these because both of them are obsessed with garlic bread (genuinely if garlic bread is on the table, nothing else stands a chance). Rolling the dough into spirals with all that butter and cheese inside just made sense. Same flavour, more fun and somehow even better when you pull them apart warm from the pan.
WHY YOU’LL LOVE THIS
- That filling — garlic butter, mozzarella and parmesan all melted together inside soft, fluffy dough. It’s a lot.
- Pull-apart friendly — baked together in one pan so the sides stay extra soft where they touch
- The garlic butter brush at the end — non-negotiable. The rolls go back in right after baking and soak it all up while still warm
- Make-ahead friendly — the dough can rise overnight in the fridge, which means fresh rolls in the morning with very little effort
FOOD SCIENCE CORNER
Why the dough needs to rise twice and what’s actually happening
You’ll notice this recipe has two rises: one after kneading and one after shaping. Both matter, but they’re not quite doing the same thing.
The first rise (called bulk fermentation) is when much of the dough’s fermentation-derived flavour develops. The yeast ferments available sugars, producing carbon dioxide and ethanol, while other reactions during fermentation create additional flavour compounds. A longer, slower fermentation generally gives these processes more time to develop. That’s why an overnight rise in the fridge can produce more complex flavour than a quick 90-minute rise at room temperature.
The second rise (called final proofing) happens after you’ve shaped the rolls. Shaping redistributes and removes some of the gas already present in the dough. During the final proof, the yeast continues producing carbon dioxide, which accumulates in gas cells supported by the gluten network. This allows the shaped rolls to expand and develop the light, airy structure we want. If you skip the second rise, the rolls will usually be smaller and denser, even if the first rise was perfect.
The butter in the dough also affects its structure and texture. Fat interferes with gluten development, making the dough more tender and extensible, which means it can stretch more easily. The gluten network still provides the structure needed to hold the gas produced by the yeast and butter helps give the finished rolls their soft, tender texture rather than a tough, chewy one.
HOW TO MAKE IT
Please note: This is just an overview – the full ingredients and directions are in the recipe card at the bottom of this post.
1. Make the yeast starter
Combine the warm milk with the sugar, yeast and flour. Cover and set aside for 8–10 minutes until foamy. If it doesn’t foam, your yeast is dead — start again with fresh yeast.
2. Make the dough
Add warm milk, egg, flour and salt to the yeast mixture. Using a dough hook, knead on low speed until the dough starts to come together. Gradually add the softened butter (add it slowly) the dough will look messy at first and then come back together. Once all the butter is incorporated, increase to medium speed and knead for 5–6 minutes until smooth and slightly sticky. If it sticks excessively to the bowl, add 1 tablespoon of flour.
3. First rise
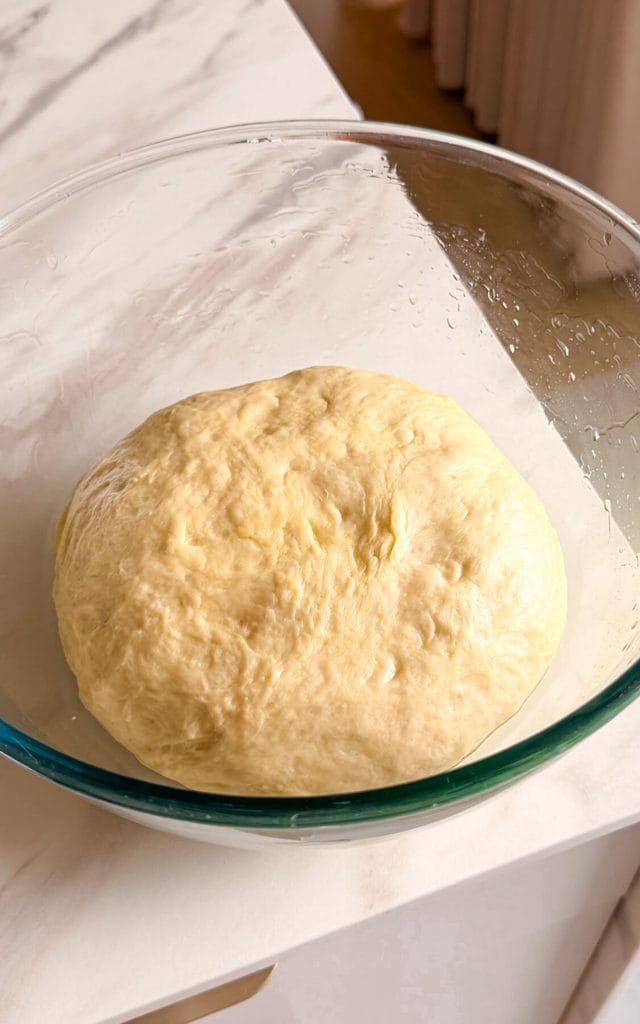
Transfer to a lightly greased bowl, cover and leave in a warm place for about 90 minutes until doubled in size. Or cover and refrigerate overnight.
4. Make the garlic filling
Mix the softened butter with the garlic, parsley, salt and black pepper until combined.
5. Shape the rolls
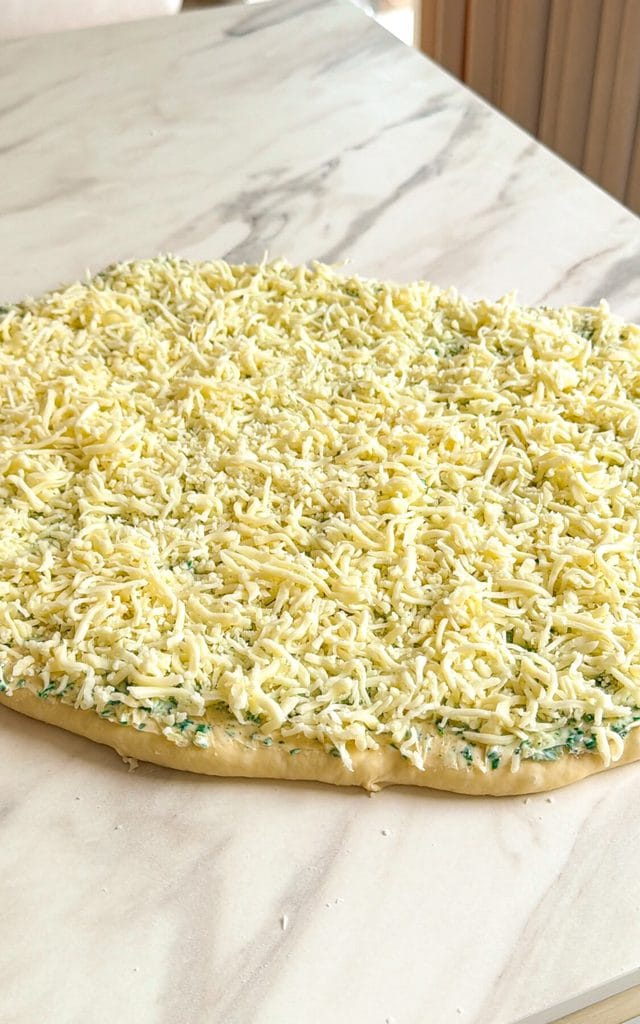
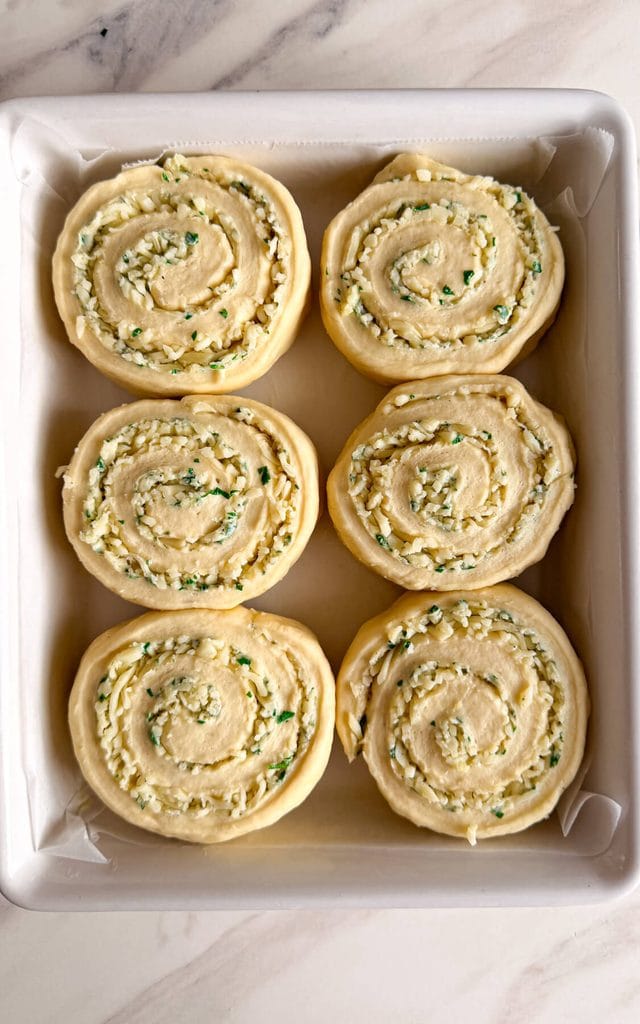
Punch down the risen dough and rest for 5 minutes. Roll out into a rectangle approximately 30 × 40 cm (12 × 16 inches). Spread the garlic butter evenly over the surface, then scatter over the mozzarella and parmesan. Starting from the longer side, roll tightly into a log. Cut into 8-9 pieces and arrange in a greased baking pan.
6. Second rise
Cover and leave to rise for 25–35 minutes until the rolls have puffed up noticeably.
7. Bake
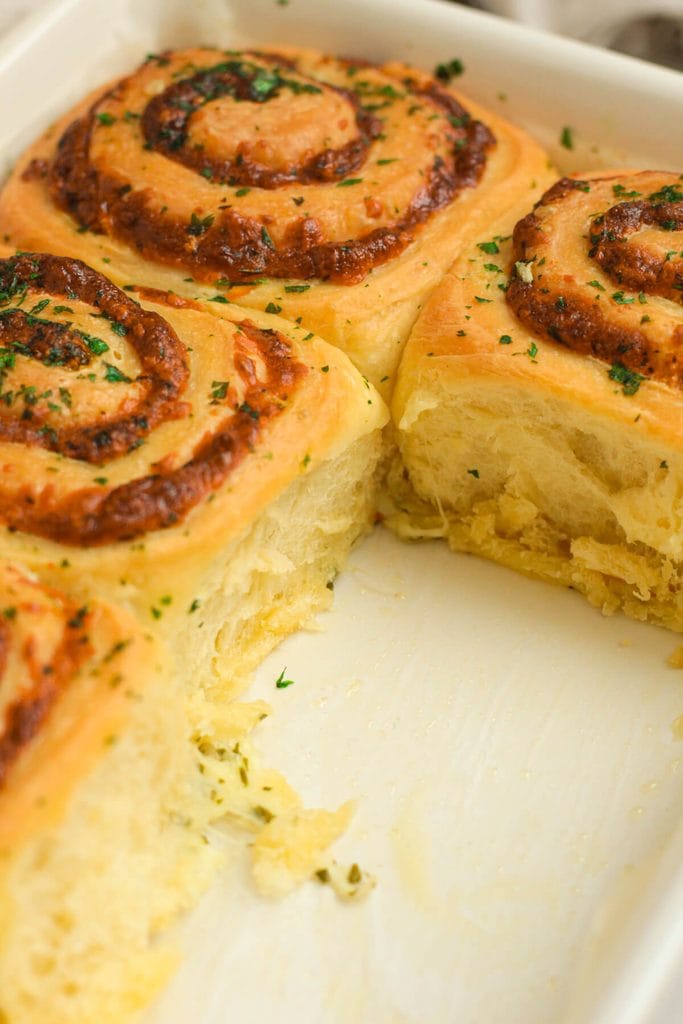
Preheat the oven to 170°C (340°F). Brush the rolls with egg wash (egg + milk, whisked together). Bake for 25–30 minutes until golden brown. If they start browning too quickly, loosely cover with foil.
8. Finish
Melt the butter with the garlic and parsley. Brush generously over the warm rolls straight from the oven. Serve immediately or at least try to wait five minutes.
STORING AND REHEATING
Keep these cheesy garlic rolls in an airtight container at room temperature for up to 2 days. Reheat in a low oven or microwave with a damp paper towel over them to keep them soft. They also freeze well – just wrap individually and defrost at room temperature.
FAQ
Can I make these without a stand mixer?
Yes, knead by hand for about 10 minutes until smooth. It takes longer but works just as well. The dough should feel slightly sticky but not unmanageable.
Can I use fresh yeast instead of dry?
Yes, the recipe already gives both options. Use 25g fresh yeast in place of 7g dry yeast.
Why are my rolls dense?
Most likely the yeast wasn’t active, the dough didn’t rise long enough or the second rise was skipped. Make sure the starter foams properly before proceeding and give both rises the full time they need.
Can I add other fillings?
Sure! Sun-dried tomatoes, spinach or caramelized onion all work well alongside the cheese. Keep the garlic butter base and add extras on top of it before rolling.
Can I make the dough ahead of time?
Yes. After the first rise, shape the rolls, cover tightly and refrigerate overnight. Bake the next morning after a 30-45 minute rest at room temperature.
More Garlic Recipes You’ll Love
- Roasted Garlic Aglio e Olio — two whole heads of roasted garlic blended into the silkiest pasta sauce
- Crispy Garlic Parmesan Potatoes — the most requested side dish in our house
- Roasted Garlic Lemon Pasta with Crispy Chicken — garlic two ways, crispy chicken, bright lemon. A weeknight staple.
Soft and Cheesy Garlic Rolls
Soft, fluffy garlic rolls filled with garlic butter, mozzarella and parmesan, baked until golden and brushed with more garlic butter. Made from scratch and worth every minute.
8
servings20
minutes30
minutes380
kcal120
minutes2
hours50
minutesKeep the screen of your device on
INGREDIENTS
- For yeast starter
100 ml warm whole milk
7 g (2 tsp) dry yeast (or 25g fresh yeast)
1 tbsp sugar
1 tbsp all-purpose flour
- For the dough
2/3 cup (150ml) warm whole milk
3 1/2 cups (450g) all purpose flour
1 tsp salt
1 large egg, room temperature
6 tbsp (80g) unsalted butter, softened
- For the filling
100 g (7 tbsp) unsalted butter, softened
4 finely minced garlic cloves
2 tbsp fresh parsley, finely chopped
salt and black pepper, to taste
3 cups (300g) mozzarella cheese, shredded
1/2 cup (50g) parmesan cheese, shredded
- For egg wash
1 small egg
1 tsp milk
- For topping
2 tbsp unsalted butter
1 garlic clove, minced
1 tbsp chopped parsley
DIRECTIONS
- Start by preparing the yeast mixture. Combine the warm milk with the sugar, yeast and flour. Cover and set aside for about 8–10 minutes, until the yeast becomes foamy.
- Add warm milk, egg, flour and salt to the starter. Using the dough hook attachment, knead on low speed until the ingredients start to come together. Gradually add the softened butter. Once all the butter has been incorporated, increase the speed to medium and knead for 5–6 minutes. The dough should be smooth and slightly sticky. If it sticks to the bowl excessively, add 1 tablespoon of flour and briefly knead the dough by hand.
- Transfer the dough to a lightly greased bowl, cover and leave in a warm place for about 90 minutes, or until doubled in size.
- Meanwhile, prepare the garlic filling. Mix the softened butter with the garlic, parsley, salt and black pepper.
- Once the dough has risen, gently punch it down and let it rest for 5 minutes. Then roll it out into a rectangle approximately 30 × 40 cm (12 × 16 inches).
- Spread the garlic and parsley butter evenly over the dough, then sprinkle with the mozzarella and parmesan.
- Starting from the shorter side, roll the dough into a log. Cut into 8-9 pieces and arrange them in a greased baking pan.
- Cover and leave to rise for another 25–35 minutes, until the rolls have noticeably puffed up.
- Preheat the oven to 170°C (340°F). Whisk the egg with 1 teaspoon of milk and brush it over the risen rolls.
- Bake for about 25–30 minutes, until golden brown. If the rolls start browning too quickly, loosely cover the pan with aluminium foil.
- Meanwhile, melt the butter in a small saucepan. Add garlic and parsley and cook briefly. Brush the warm rolls generously with the garlic butter before serving.
Recipe Video
Notes
- Keep these cheesy garlic rolls in an airtight container at room temperature for up to 2 days. Reheat in a low oven or microwave with a damp paper towel over them to keep them soft. They also freeze well – just wrap individually and defrost at room temperature.
- Nutrition is estimated and may vary depending on ingredients used. It should not be considered a substitute for a professional nutritionist’s advice.
Nutrition Facts
- Total number of serves: 8
- Calories: 380kcal
- Fat: 18g
- Carbohydrates: 42g
- Protein: 12g
Did you make it?
I would love to hear about your experience in the comments below!
Your feedback is valuable and helps me to continue creating delicious recipes that you will love.
So, don’t be shy, leave a comment and let me know how it turned out for you!