Crispy Fried Burrata with Creamy Tomato Sauce

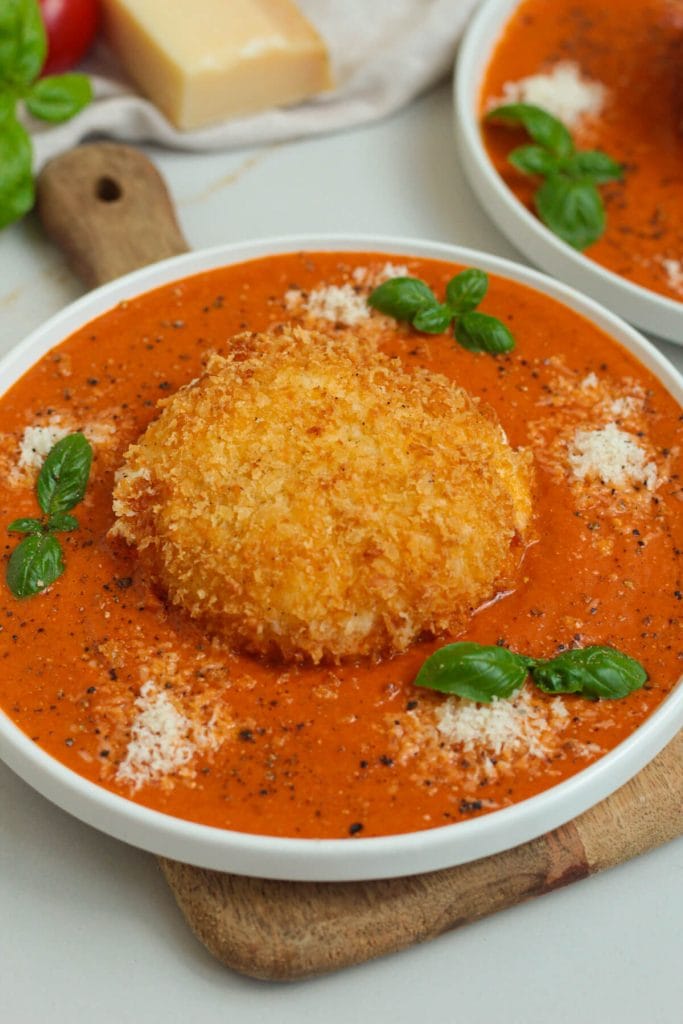
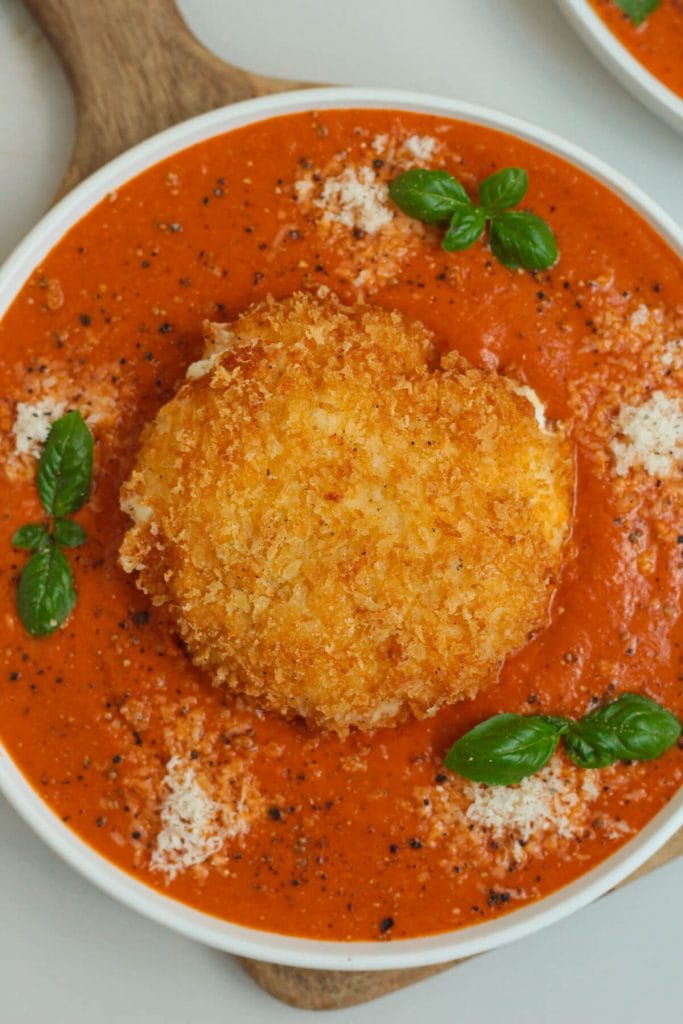
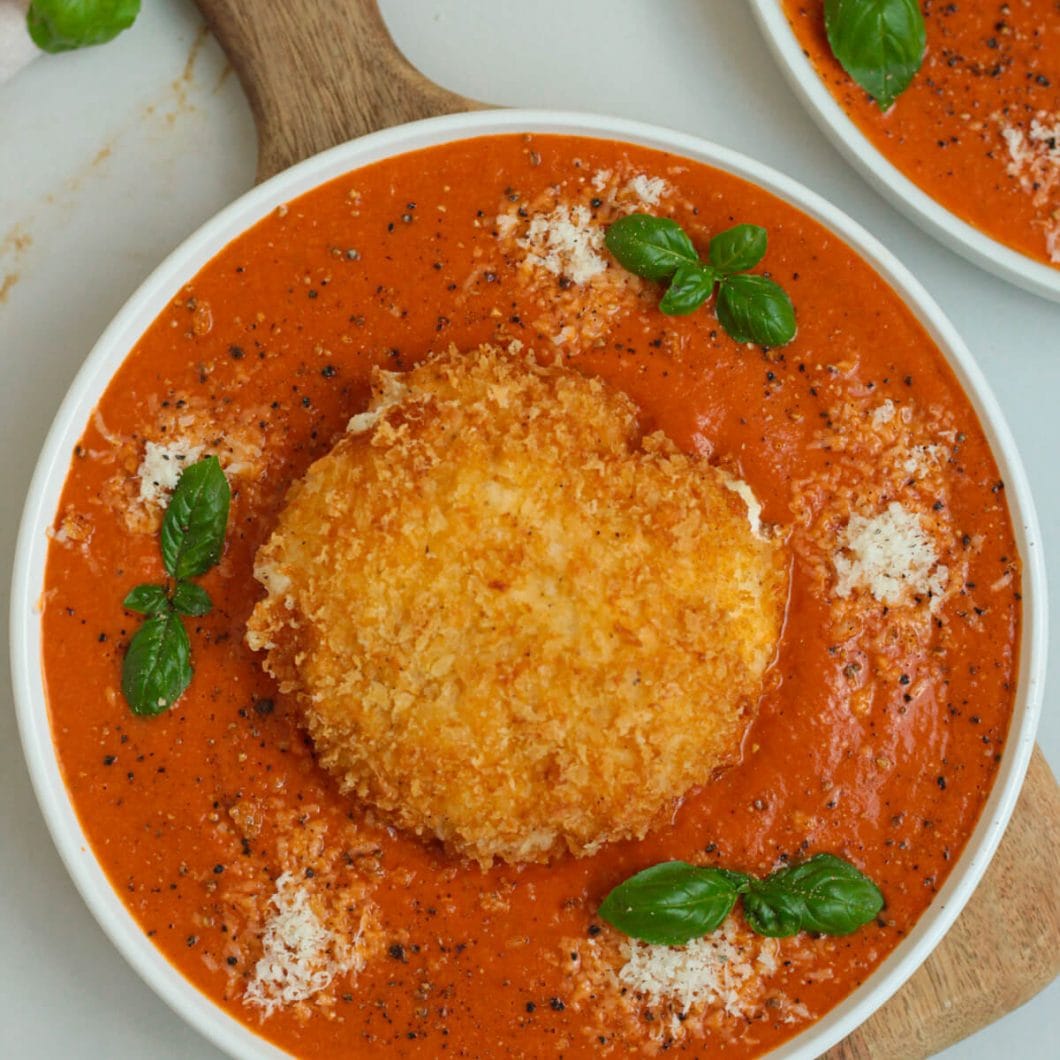
Crispy Fried Burrata is a whole burrata ball coated in a double layer of panko breadcrumbs and parmesan, fried until golden and crispy, then served on a pool of creamy blended tomato sauce. Ready in 30 minutes – an impressive starter that’s much easier to make at home than it looks.
If you’ve tried a few of my recipes, you already know that burrata is something of an obsession of mine. It goes into my pasta, onto my bruschetta, into bowls… if there’s a way to add it, I will.
A few years back I tried fried mozzarella at the restaurant and I loved it. Mozzarella is firm enough to hold its shape under heat. But burrata (with that soft, creamy stracciatella filling) is a completely different thing. I wasn’t sure it would work, but I had to try anyway. When I cut into the first one and the warm, barely-melted cream spilled out into the tomato sauce underneath, I knew I was onto something very good. It’s become my go-to starter when we have guests in summer.
WHY YOU’LL LOVE THIS
- That moment when you cut into it — crispy golden shell, warm creamy burrata spilling into the tomato sauce underneath. It’s a moment.
- Easier than it looks — the double coating does most of the work, and frying takes just 1–2 minutes per ball
- Perfect for guests — elegant, impressive and completely make-ahead friendly on the sauce side
- That creamy tomato sauce — blended smooth with fresh basil and a touch of cream, it’s worth making on its own
FOOD SCIENCE CORNER
Why double coating gives you a better, more stable crust
The standard breading sequence – flour, then egg, then breadcrumbs – works well for most fried foods. But for something as delicate as burrata, a single coating isn’t always enough. Here’s what each layer is doing, and why doing it twice matters.
Flour creates a dry surface for the egg to grip. Burrata has a very smooth, slightly wet exterior. Without the flour layer first, the egg can slide straight off.
Egg acts as a glue between the flour and breadcrumbs. Its proteins coagulate when heated, helping bind the layers together and giving the crust its structure.
Panko breadcrumbs create the crispy outer shell. They’re coarser and more open-textured than fine breadcrumbs, which gives the finished crust a lighter, more pronounced crunch. Parmesan adds savoury flavour and contributes to the browning of the crust.
When you repeat the egg and breadcrumb step a second time, you’re creating a thicker, more robust coating. This is especially useful for burrata because it gives the exterior more protection from the hot oil, allowing the crust to become crisp and golden before the delicate interior has time to become completely molten.
The result is exactly what you’re looking for: a properly crisp, golden exterior surrounding burrata that’s warm, soft and still wonderfully creamy inside.
HOW TO MAKE IT
Please note: This is just an overview – the full ingredients and directions are in the recipe card at the bottom of this post.
Step 1: Make the creamy tomato sauce
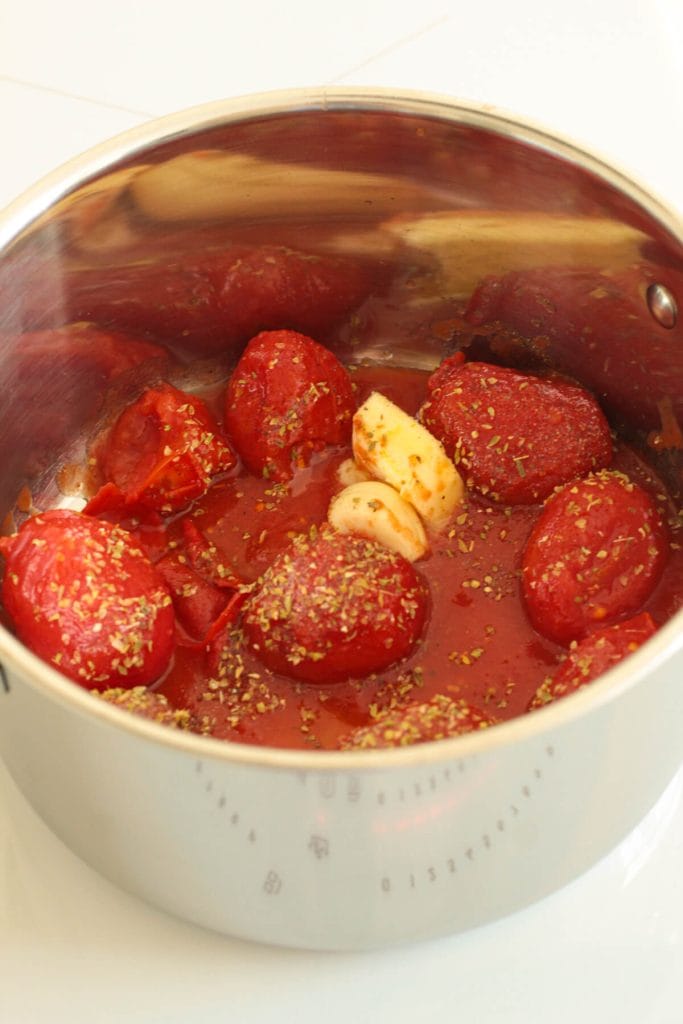
In a saucepan, combine the crushed tomatoes, garlic, butter, oregano, chili flakes, sugar, salt and pepper. Bring to a gentle simmer over medium heat and cook for 10–15 minutes, stirring occasionally, until the sauce has reduced slightly and the garlic is soft. Transfer to a blender with the fresh basil and heavy cream. Blend until completely smooth and velvety. Taste, adjust seasoning and keep warm.
Step 2: Bread the burrata
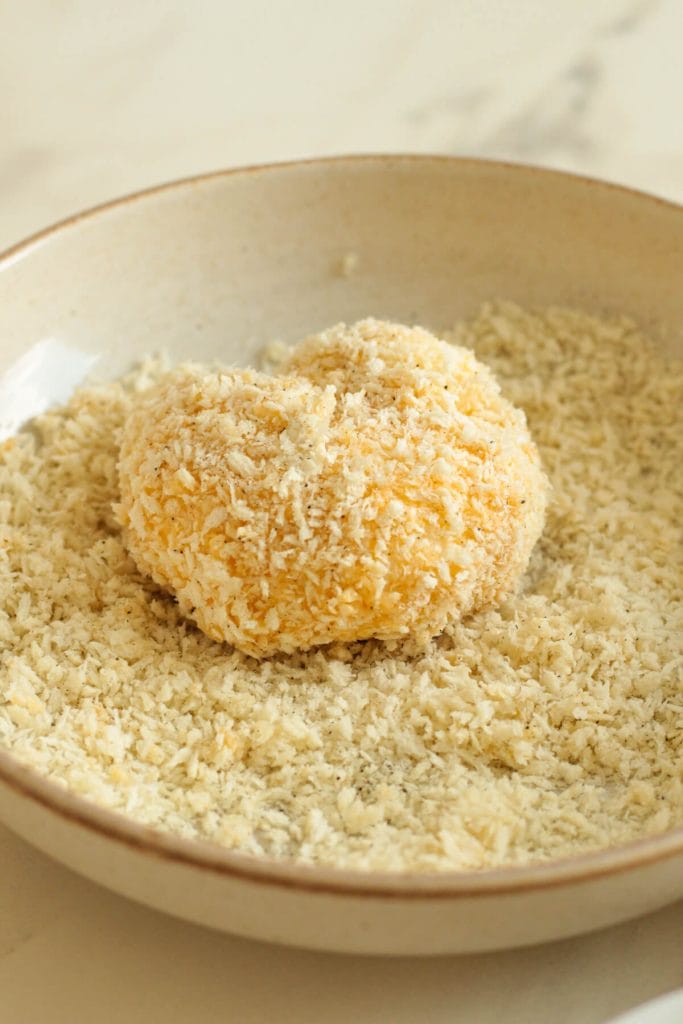
Make sure the burrata is well drained and patted dry – any excess moisture will prevent the coating from sticking. Set up three shallow bowls: one with flour, one with beaten eggs, one with the panko, parmesan, garlic powder, Italian seasoning, salt and pepper mixed together. Coat each burrata ball in flour first, then egg, then the breadcrumb mixture. For an extra crispy shell (and better protection for the filling) repeat the egg and breadcrumb step once more.
Step 3: Fry
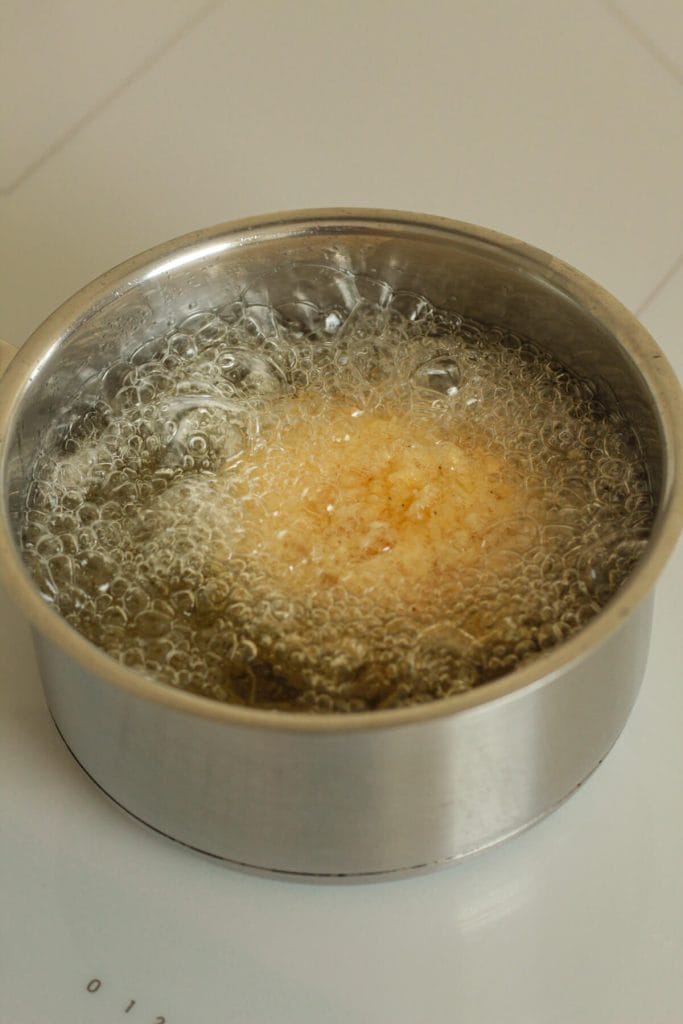
Heat vegetable oil in a deep saucepan to 175°C (350°F). Use a thermometer if you have one, the temperature matters here. Carefully lower one burrata into the hot oil and fry for 1–2 minutes, turning gently, until evenly golden brown. Remove with a slotted spoon and transfer to a paper towel-lined plate. Repeat with the second burrata.
Step 4: Assemble
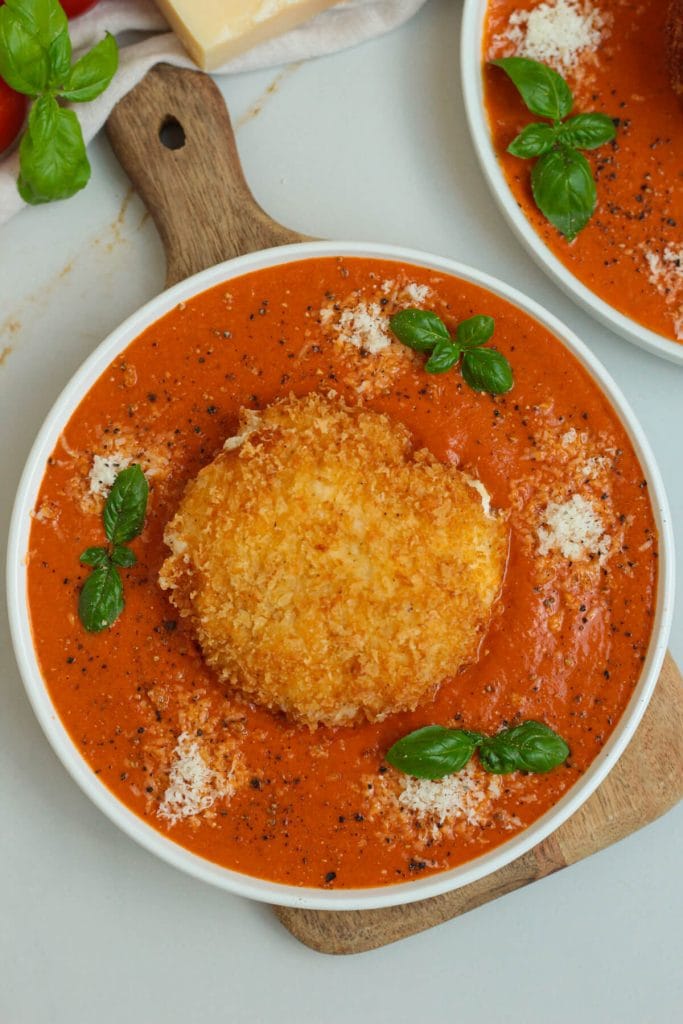
Spread the warm creamy tomato sauce onto a serving plate or shallow bowl. Place the crispy fried burrata on top. Finish with grated parmesan, fresh basil, freshly cracked black pepper and a drizzle of balsamic glaze if using. Serve immediately with toasted sourdough or focaccia for dipping.
STORING AND REHEATING
This crispy fried burrata is best served immediately. The tomato sauce keeps in the fridge for up to 3 days and reheats beautifully. Bread and fry the burrata just before serving.
FAQ
Can I use regular mozzarella instead of burrata?
Yes and it’s much more forgiving. Regular mozzarella holds its shape better in hot oil and is easier to work with. The result is less dramatic but still delicious. Pat it very dry before coating.
Can I use an air fryer instead of deep frying?
You can, but the result is different. Air-fried burrata won’t get the same even golden crust as deep-fried, and there’s a higher risk of the coating not setting quickly enough and the filling leaking. If you try it, spray generously with oil and cook at 200°C for 6–8 minutes and watch it closely.
What oil is best for frying?
Use a neutral oil with a high smoke point – vegetable oil, sunflower oil or rapeseed oil all work well. Avoid olive oil, which has a lower smoke point and a strong flavour that doesn’t suit deep frying.
Is this recipe suitable for vegetarians?
Yes, as written this recipe is vegetarian.
More Burrata Recipes You’ll Love
If burrata is your weakness too – welcome, you’re in the right place:
- Burrata Bruschetta with Roasted Tomatoes — the easiest burrata starter
- Creamy Roasted Tomato Orzo with Burrata — burrata as a weeknight dinner, melting into warm creamy orzo
- Lemon Pesto Pasta with Burrata — bright, fresh and ready in 20 minutes
Crispy Fried Burrata with Creamy Tomato Sauce
Crispy Fried Burrata is a whole burrata ball coated in a double layer of panko breadcrumbs and parmesan, fried until golden and crispy, then served on a pool of creamy blended tomato sauce. Ready in 30 minutes – an impressive starter that’s much easier to make at home than it looks.
2
servings15
minutes15
minutes680
kcal30
minutesKeep the screen of your device on
INGREDIENTS
- For the tomato sauce
1 tbsp butter
2 cloves garlic
1 can (400 g / 14 oz) crushed tomatoes
1/2 tsp ½ tsp dried oregano
1/4 tsp ¼ tsp chili flakes (optional)
1/2 tsp ½ tsp sugar
Salt and black pepper, to taste
60 ml (¼ cup) heavy cream
Handful fresh basil
- For the burrata
2 burrata balls (125 g / 4.5 oz each), well drained
60 g (½ cup) all-purpose flour
2 eggs, beaten
100 g (1 cup) panko breadcrumbs
30 g (¼ cup) grated parmesan
1/2 tsp garlic powder
1/2 tsp Italian seasoning
Salt and black pepper
Vegetable oil, for frying
- To serve
Fresh basil leaves
Extra grated parmesan
Cracked black pepper
Toasted sourdough or focaccia
Balsamic glaze
DIRECTIONS
- Make the creamy tomato sauce
- In a saucepan, combine the tomatoes, garlic, butter, oregano, salt, pepper, and sugar. Bring to a gentle simmer over medium heat and cook for 10–15 minutes, stirring occasionally, until the sauce has reduced slightly and the garlic is soft.
- Transfer the sauce to a blender along with the fresh basil and heavy cream. Blend until completely smooth and velvety. Taste and adjust the seasoning if needed, then keep warm.
- Bread the burrata
- In a shallow bowl, combine the panko breadcrumbs, parmesan, garlic powder, Italian seasoning, and a pinch of salt and pepper.
- Coat each burrata ball in the flour, then dip it into the beaten eggs, and finally coat it thoroughly in the breadcrumb mixture. For an extra crispy shell, repeat the egg and breadcrumb coating once more.
- Fry
- Heat vegetable oil in a deep saucepan to 350°F (175°C).
- Carefully lower one burrata into the hot oil and fry for 1–2 minutes, turning gently until evenly golden brown and crisp. Remove with a slotted spoon and transfer to a paper towel-lined plate. Repeat with the remaining burrata.
- Assemble
- Spread the warm creamy tomato sauce onto a serving plate or shallow bowl. Place the crispy fried burrata on top.
- Finish with grated Parmesan, fresh basil, freshly cracked black pepper, and, if desired, a drizzle of balsamic glaze.
- Serve immediately with toasted sourdough or focaccia for dipping.
Recipe Video
Notes
- This crispy fried burrata is best served immediately. The tomato sauce keeps in the fridge for up to 3 days and reheats beautifully. Bread and fry the burrata just before serving.
- Nutrition is estimated and may vary depending on ingredients used. It should not be considered a substitute for a professional nutritionist’s advice.
Nutrition Facts
- Total number of serves: 2
- Calories: 680kcal
- Fat: 42g
- Carbohydrates: 48g
- Protein: 28g
Did you make it?
I would love to hear about your experience in the comments below!
Your feedback is valuable and helps me to continue creating delicious recipes that you will love.
So, don’t be shy, leave a comment and let me know how it turned out for you!