How to Season a Cast Iron Pan (And Why It Actually Matters)
If you’ve just bought a cast iron pan or found one gathering dust at the back of a cupboard. This guide is for you. When I got my first cast iron pan, I had no idea what I was doing. I used it wrong, cleaned it wrong, and couldn’t understand why everyone kept saying it was the best thing in their kitchen when mine kept rusting and sticking. Turns out, I just needed to learn one thing first: how to season a cast iron pan properly.
Once I figured that out, everything changed. Now it’s the pan I reach for almost every day.
What does “seasoning” actually mean?
Seasoning has nothing to do with salt or spices. It’s the process of baking a thin layer of oil onto the surface of the pan to create a natural, non-stick coating. That dark, almost glossy finish you see on a well-used cast iron? That’s seasoning – built up over time, layer by layer.
The good news is that you can build it yourself in about an hour.
What you’ll need
- Your cast iron pan
- A neutral oil with a high smoke point: flaxseed oil, vegetable oil, or shortening all work well. Avoid olive oil (more on why below)
- Paper towels or a clean lint-free cloth
- Your oven
Step-by-step: how to season your cast iron pan
Step 1: Wash it (just this once)
Give the pan a good wash with warm soapy water. Yes, soap – just this once, before the first seasoning. Rinse thoroughly and dry completely. Any moisture left on cast iron will cause rust, so either pat it dry and leave it on a low heat on the hob for a few minutes to make sure it’s bone dry.
Step 2: Apply a very thin layer of oil
Using a paper towel, rub a thin layer of oil all over the pan – inside, outside, and the handle. Then take a clean paper towel and buff it off until it looks almost like there’s no oil left at all. This is the step most people get wrong. Too much oil = a sticky, gummy pan. The layer should be so thin it’s barely visible.
Step 3: Bake it upside down
Place the pan upside down in the oven at 230°C (450°F). Put a sheet of foil on the rack below to catch any drips. Bake for one hour.
Step 4: Let it cool in the oven
Turn the oven off and leave the pan inside until it’s completely cool. Don’t rush this.
Step 5: Repeat
For a brand new pan, repeat this process 3-4 times. Each layer adds to the seasoning and makes it more durable. After the first few rounds you’ll notice the surface getting darker and more even.
Food Science Corner
Why does this work? The science behind seasoning.
When you heat oil to a high temperature, it goes through a process called polymerisation. The oil molecules bond together and form long, stable chains that bond to the iron surface. This creates a layer that is no longer oily or sticky. It’s essentially a thin plastic-like coating, hard and smooth.
This is why the temperature matters so much. You need to get above the oil’s smoke point to trigger polymerisation. Flaxseed oil polymerises particularly well because of its high concentration of omega-3 fatty acids, which are especially reactive at high heat. It’s one of the reasons it’s often recommended for seasoning, even though you’d never cook with it at those temperatures normally.
It’s also why too much oil is a problem. A thick layer won’t polymerise evenly. It stays tacky and gummy on the surface. Thin layers, baked at high heat, are the key.
How to maintain your seasoning after cooking
This is where I made most of my mistakes at the beginning. Cast iron care is simple once you know the rules:
DO:
- wipe it out while it’s still warm with a paper towel or stiff brush. A small amount of warm water is fine if needed.
- dry it completely after washing. Put it on a low flame on the hob for 1-2 minutes if you want to be sure.
- rub a tiny amount of oil into the surface after each use. This maintains and gradually builds your seasoning.
DON’T:
- soak it in water or leave it wet. This is the fastest way to rust.
- use harsh soap or a dishwasher. This strips the seasoning you’ve worked to build.
- panic if you see a little rust. It’s fixable. Scrub the rust off with steel wool, wash, dry, and re-season from scratch.

What about cooking acidic foods?
Avoid cooking tomato-based sauces, lemon dishes, or anything very acidic in a cast iron pan, especially if the seasoning is still new. Acid reacts with iron and can strip your seasoning and in some cases give your food a slightly metallic taste. Once your pan is very well-seasoned after months of use, it handles acidic foods much better, but while you’re building it up it’s best to avoid them.
The more you use it, the better it gets
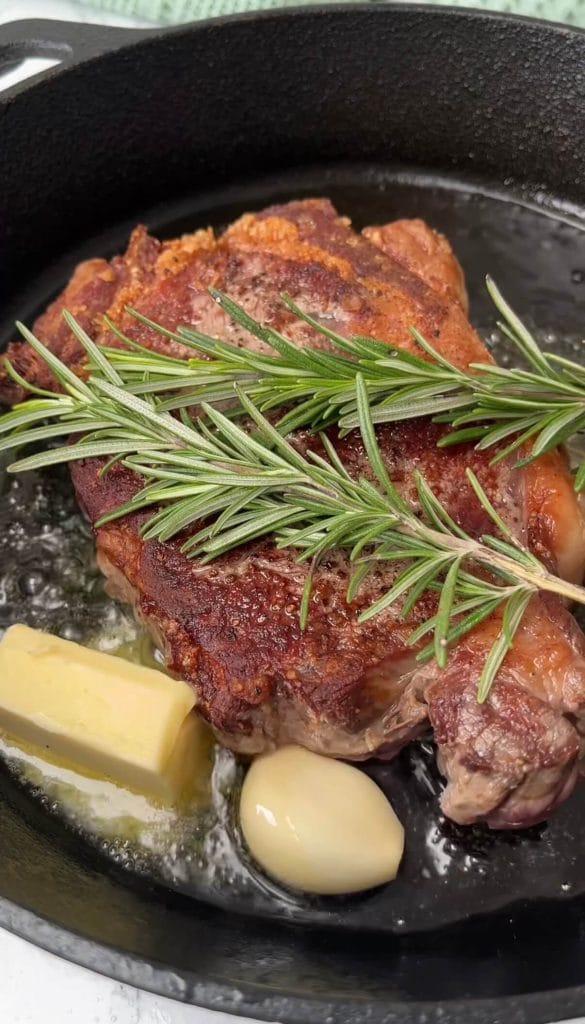
This is my favorite thing about cast iron. Every time you cook in it (especially anything fatty like bacon, a steak, or sautéed vegetables in butter) you’re adding to the seasoning. A pan that’s been used weekly for a year is far more non-stick than a brand new one. It genuinely improves with age, which is why people pass them down through generations.
My pan is nothing special. I didn’t inherit it or spend a fortune on it. But after a couple of years of weekly use, it’s one of my most prized pieces of kitchen equipment.
Quick summary
Seasoning a cast iron pan means baking thin layers of oil onto the surface to create a natural non-stick coating. Apply a very thin layer of neutral oil, bake upside down at 230°C for one hour, and repeat 3-4 times for a new pan. After that, regular use and simple maintenance keeps it in perfect condition.
Looking to put your newly seasoned pan to work? Try my One Pan Chicken Fricassée – cast iron gives chicken the most incredible crust.


