Easy Loaded Cheeseburger Bowls

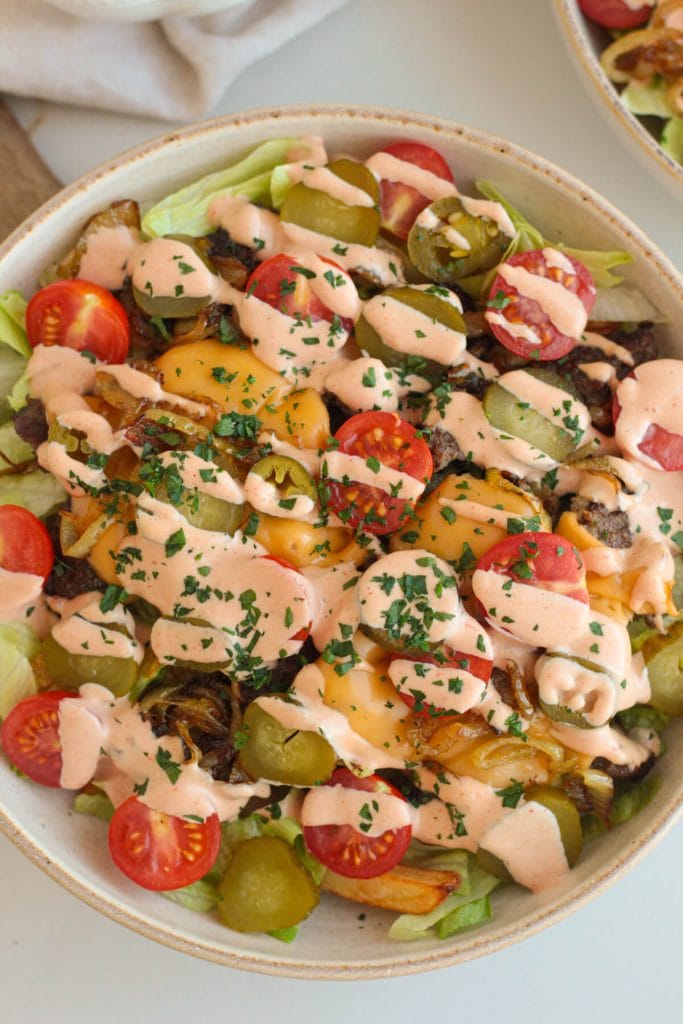
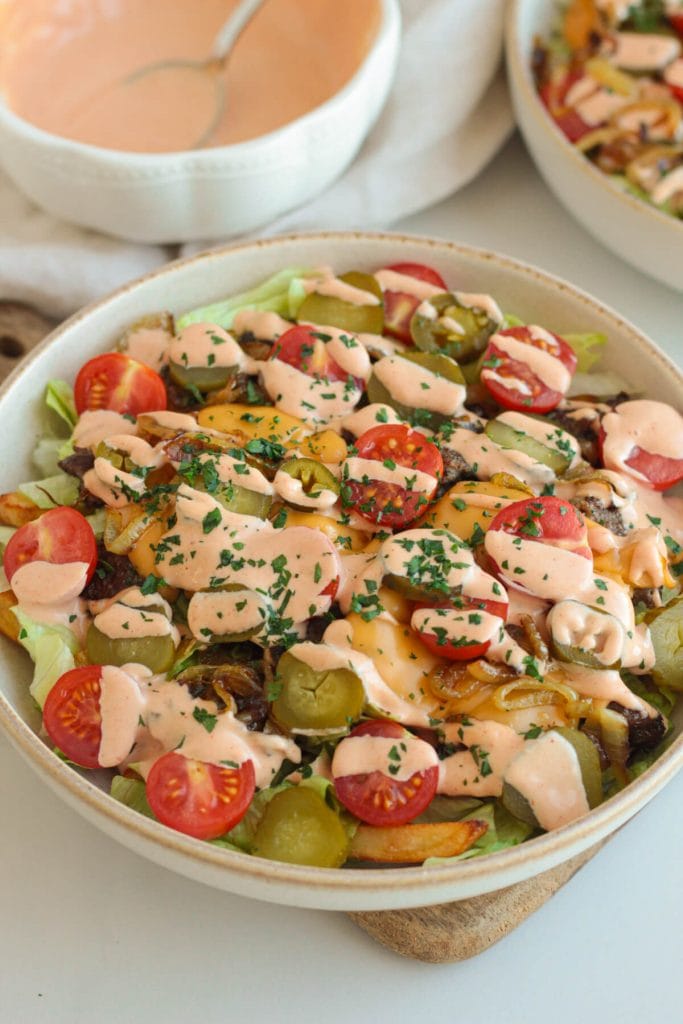
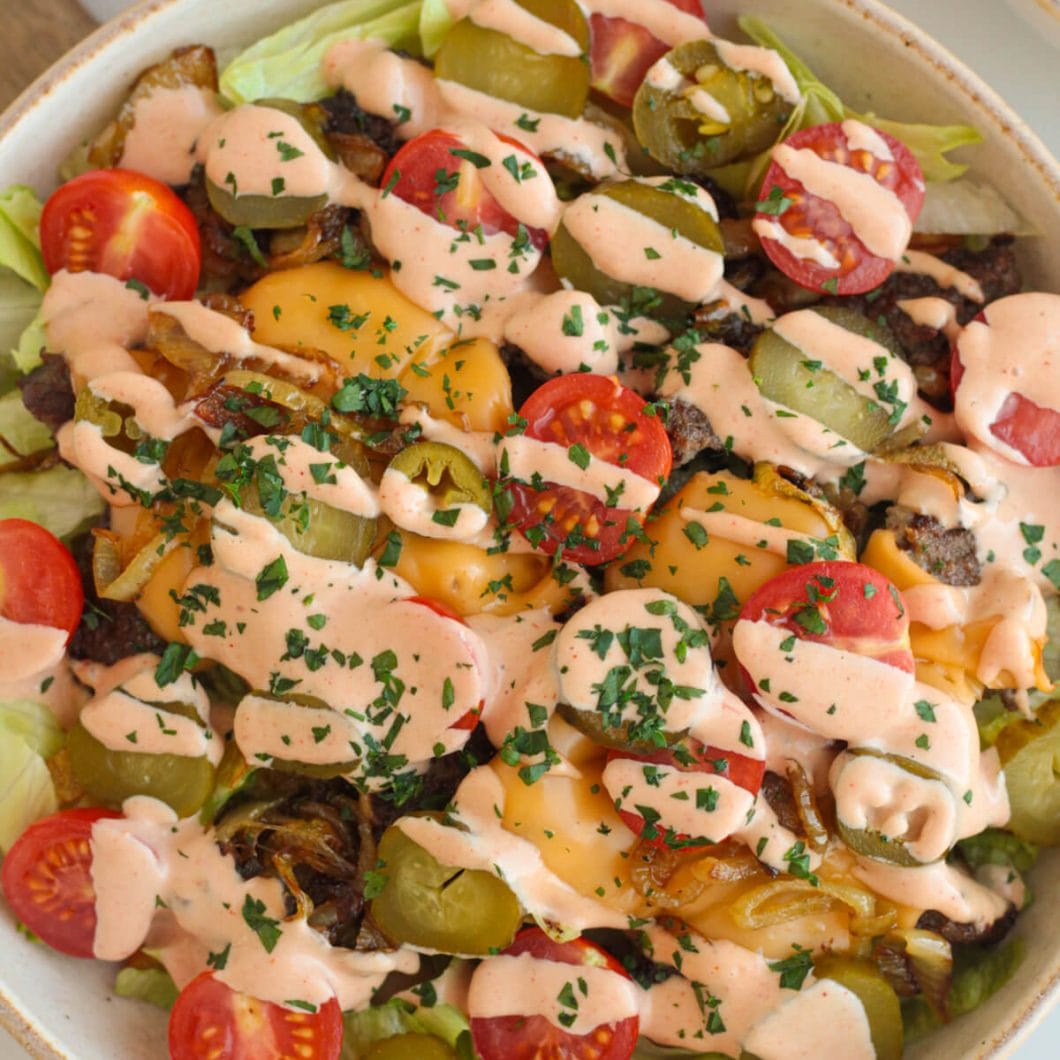
Loaded Cheeseburger Bowls are all the best parts of a classic cheeseburger. They combine seasoned beef, melted cheese, caramelized onions, pickles, and burger sauce with crispy fries instead of a bun. Ready in 30 minutes, naturally gluten-free, and honestly more fun to eat than a regular burger.
I’m a burger person through and through. But this bowl version? It came about because my husband has been reducing his gluten intake, and I wanted to make something that felt just as indulgent as a burger without the bun.
Turns out, swapping the bun for a base of crispy fries was one of the best decisions I’ve made in the kitchen. Everything gets piled into a bowl, drizzled with homemade burger sauce and eaten with a fork. There’s no sauce dripping down your hands, no fillings falling out, just pure burger flavour in the most convenient form possible.
WHY YOU’LL LOVE THIS
- All the burger flavor, none of the bun — naturally gluten-free and genuinely just as satisfying
- Ready in 30 minutes — frozen fries do most of the work, no shame in that
- Fully customizable — use whatever toppings you like – add extra jalapeños or swap veggies
- No mess — everything stays in the bowl and it’s super convinient
WHAT ARE LOADED CHEESEBURGER BOWLS?
Cheeseburger bowls are a deconstructed burger served in bowl form. You get all the classic fillings (beef, cheese, toppings, sauce) over a base of fries instead of a bun. They’ve become popular as a lower-carb, gluten-free alternative to a traditional burger, but honestly even if you’re not avoiding gluten, they’re just a really good dinner. The fries soak up the burger sauce from the bottom, the beef stays juicy, and every bite has a bit of everything in it.
FOOD SCIENCE CORNER
The Maillard reaction – why your beef tastes like a burger
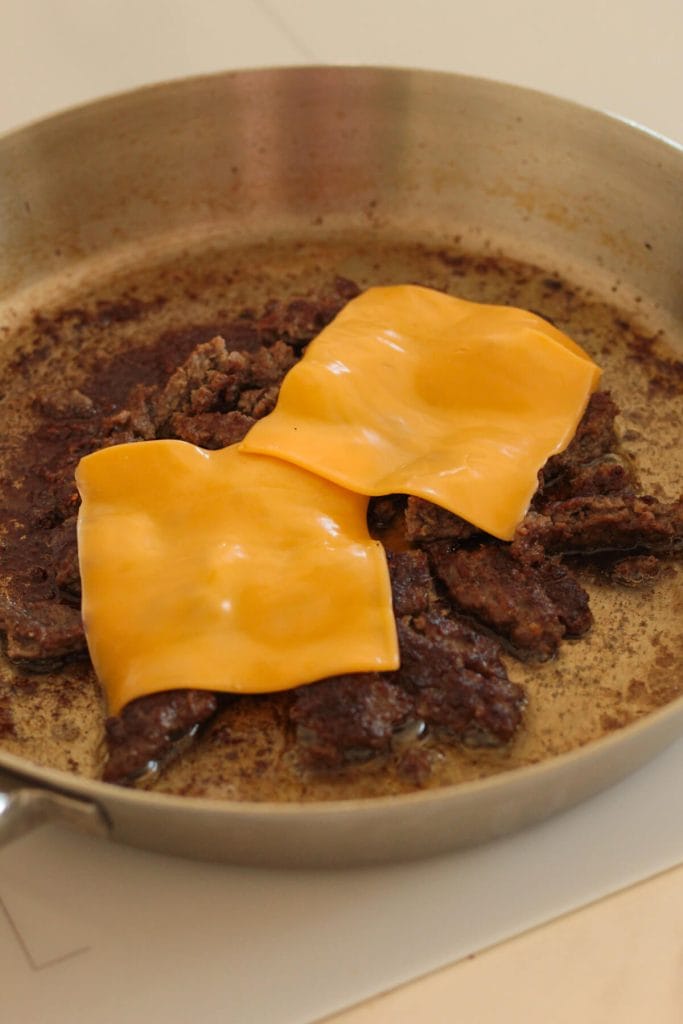
When you press the beef into a hot pan and leave it undisturbed, the surface dries out and becomes hot enough for the Maillard reaction to begin. This is a chemical reaction between amino acids and natural sugars in the meat that creates hundreds of new flavour and aroma compounds. It’s the same reaction responsible for the golden crust on bread, the colour of roasted coffee and the rich flavour of a perfectly seared steak.
This is why a properly browned burger tastes so much richer than one that’s simply steamed or boiled. For the best browning, use high heat, make sure the surface of the meat is as dry as possible, and resist the urge to move it too soon.
Caramelized onions – why they need time
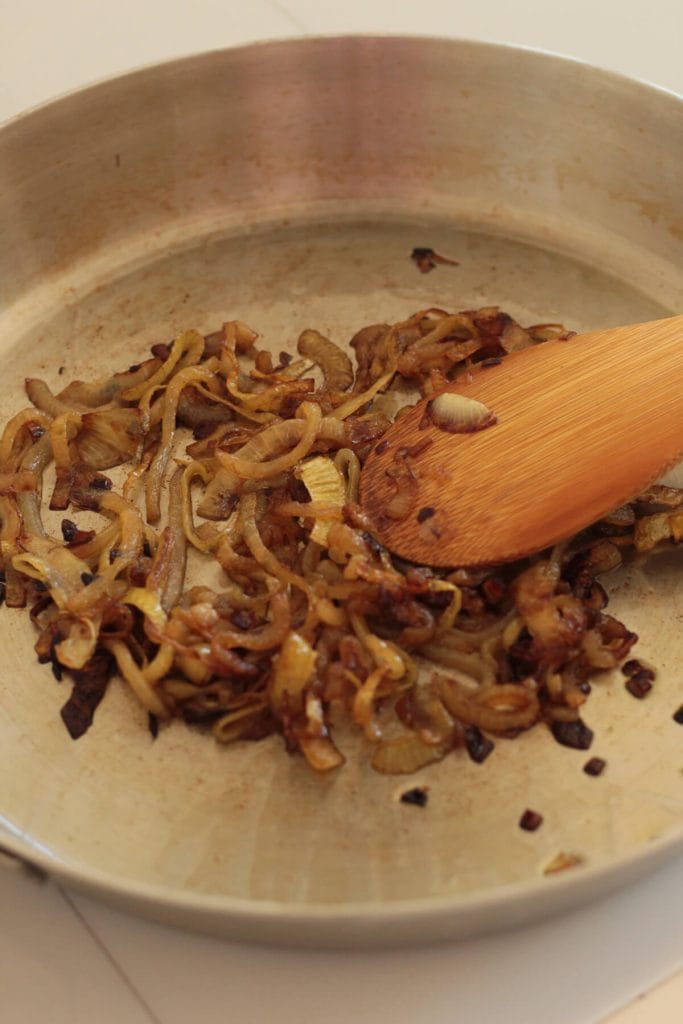
Onions don’t become sweet in just a couple of minutes. As they cook slowly, they first soften and release their water. Once much of that moisture has evaporated, their natural sugars become more concentrated and browning reactions begin, creating the deep, sweet, savoury flavour we associate with caramelized onions.
This transformation can’t be rushed. Cooking over medium heat gives the onions time to soften, brown evenly and develop their rich flavour. Turning the heat up too high simply burns the outside before the inside has a chance to caramelize properly.
HOW TO MAKE IT
Please note: This is just an overview – the full ingredients and directions are in the recipe card at the bottom of this post.
Bake the fries
Cook fries according to package instructions until golden and crispy.
Caramelize the onion
Heat a pan over medium heat with a little oil or butter. Add the onion with a pinch of salt and cook for 10–12 minutes until soft and golden. Don’t rush this step, the sweetness comes from patience.
Make the burger sauce
In a bowl, mix mayonnaise, ketchup, mustard, pickle juice, garlic powder, and smoked paprika. Set aside.
Cook the beef
Heat a pan over medium-high heat. Add the patties and press slightly to thin them out. Cook for 3–4 minutes without moving them. Flip and cook for another 2–3 minutes. Break the patties into smaller pieces using a spatula, add the cheese slices, and cook for another minute until the cheese melts slightly.
Assemble
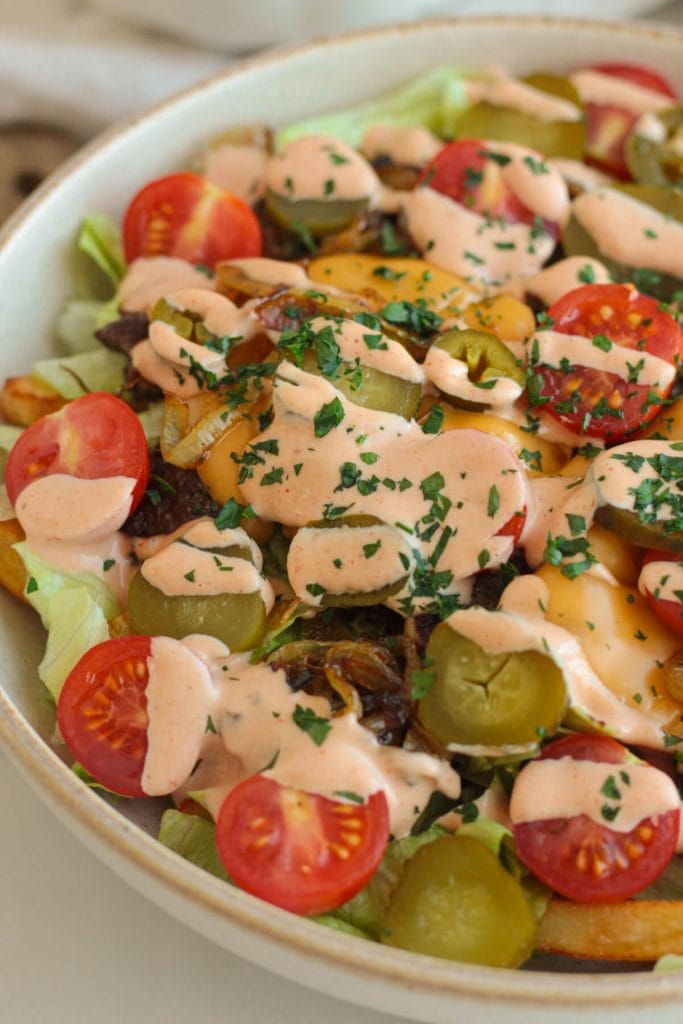
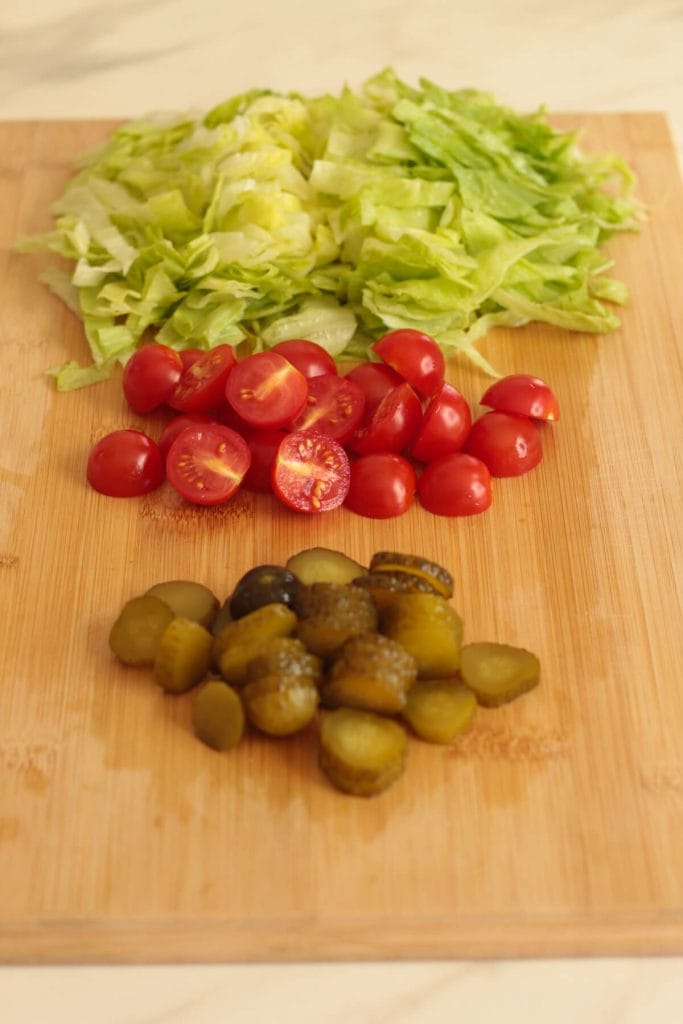
Divide the hot fries between two bowls, then layer on lettuce. Add the beef, caramelized onions, cherry tomatoes, pickles, and jalapeños.
Finish
Drizzle generously with burger sauce and serve immediately.
STORING AND REHEATING
These loaded cheeseburger bowls are best eaten fresh. If you have leftovers, store the components separately in the fridge and assemble again just before eating. Reheat fries in the air fryer to get them crispy again.
FAQ
Can I use homemade fries instead of frozen?
Absolutely! Cut potatoes into fries, toss in oil and bake at 220°C (425°F) for 25–30 minutes, flipping halfway. The result is just as good, though it adds time.
Is this recipe gluten-free?
As written, yes. As long as your frozen fries and condiments are certified gluten-free (always check labels, as some brands add wheat starch). This is actually why this recipe was born in our house.
Can I make the burger sauce ahead of time?
Yes! It keeps in the fridge for up to a week in a sealed jar. It also works brilliantly as a dipping sauce for regular fries.
Can I make this dairy-free?
Yes! Simply skip the cheese or use a dairy-free alternative. The burger sauce is already dairy-free as written.
More Comfort Food Recipes You’ll Love
- Easy Buttermilk Crispy Chicken Sandwich — if you love the burger format but want crispy chicken instead
- Crispy Chicken Caesar Sliders — perfect for feeding a crowd
Easy Loaded Cheeseburger Bowls
Loaded Cheeseburger Bowls are all the best parts of a classic cheeseburger. They combine seasoned beef, melted cheese, caramelized onions, pickles, and burger sauce with crispy fries instead of a bun. Ready in 30 minutes, naturally gluten-free, and honestly more fun to eat than a regular burger.
2
servings10
minutes20
minutes720
kcal30
minutesKeep the screen of your device on
INGREDIENTS
- Base:
350 g (12 oz) frozen fries
2 beef burger patties
Salt & black pepper
4 slices American cheese
- Toppings:
1/4 iceberg lettuce, shredded
200 g (8oz) cherry tomatoes, halved
4-6 pickles, sliced
2-3 jarred jalapeños, sliced
1 small onion, thinly sliced
- Burger sauce:
1/4 cup (60 g) mayonnaise
1 tbsp ketchup
1/2 tbsp mustard
1/2 tbsp pickle juice
1/4 tsp garlic powder
1/4 tsp smoked paprika
DIRECTIONS
- Cook fries according to package instructions until golden and crispy.
- Heat a pan over medium heat with a little oil or butter. Add onion with a pinch of salt and cook for 10–12 minutes until soft and golden.
- In a bowl make burger sauce. Mix mayonnaise, ketchup, mustard, pickle juice, garlic powder, and smoked paprika.
- Heat a pan over medium-high heat. Add beef patties and press slightly to thin them out. Season with salt and pepper. Cook 3–4 minutes until browned, then flip and cook for another 2-3 minutes.
- Break patties into smaller pieces (I use stainless steel spatula), then add cheese slices and cook for another minute until cheese melts slightly.
- Divide hot fries between two bowls. Then top with lettuce, beef, caramelized onions, tomatoes, pickles, and jalapeños.
- Drizzle with burger sauce and serve immediately.
Recipe Video
Notes
- These loaded cheeseburger bowls are best eaten fresh. If you have leftovers, store the components separately in the fridge and assemble again just before eating. Reheat fries in the air fryer to get them crispy again.
- Nutrition is estimated and may vary depending on ingredients used. It should not be considered a substitute for a professional nutritionist’s advice.
Nutrition Facts
- Total number of serves: 2
- Calories: 720kcal
- Fat: 42g
- Carbohydrates: 48g
- Protein: 35g
Did you make it?
I would love to hear about your experience in the comments below!
Your feedback is valuable and helps me to continue creating delicious recipes that you will love.
So, don’t be shy, leave a comment and let me know how it turned out for you!